
How to make custom LEGO stickers

Take a closer look at almost any official LEGO set, and you'll notice something interesting. Some of its most memorable details aren't built with bricks at all.
The dashboard inside a sports car. The menu outside a restaurant. The control panel in a spaceship. A medieval tavern sign. More often than not, they're stickers.
Those tiny graphics help turn simple bricks into believable vehicles, buildings and scenes. They're also one of the easiest ways to personalise a MOC, restore an older set or add details LEGO has never made. Making your own is easier than you might think, and you don't need a workshop full of specialist equipment to get started.
Quick Answer: How to make custom LEGO® stickers
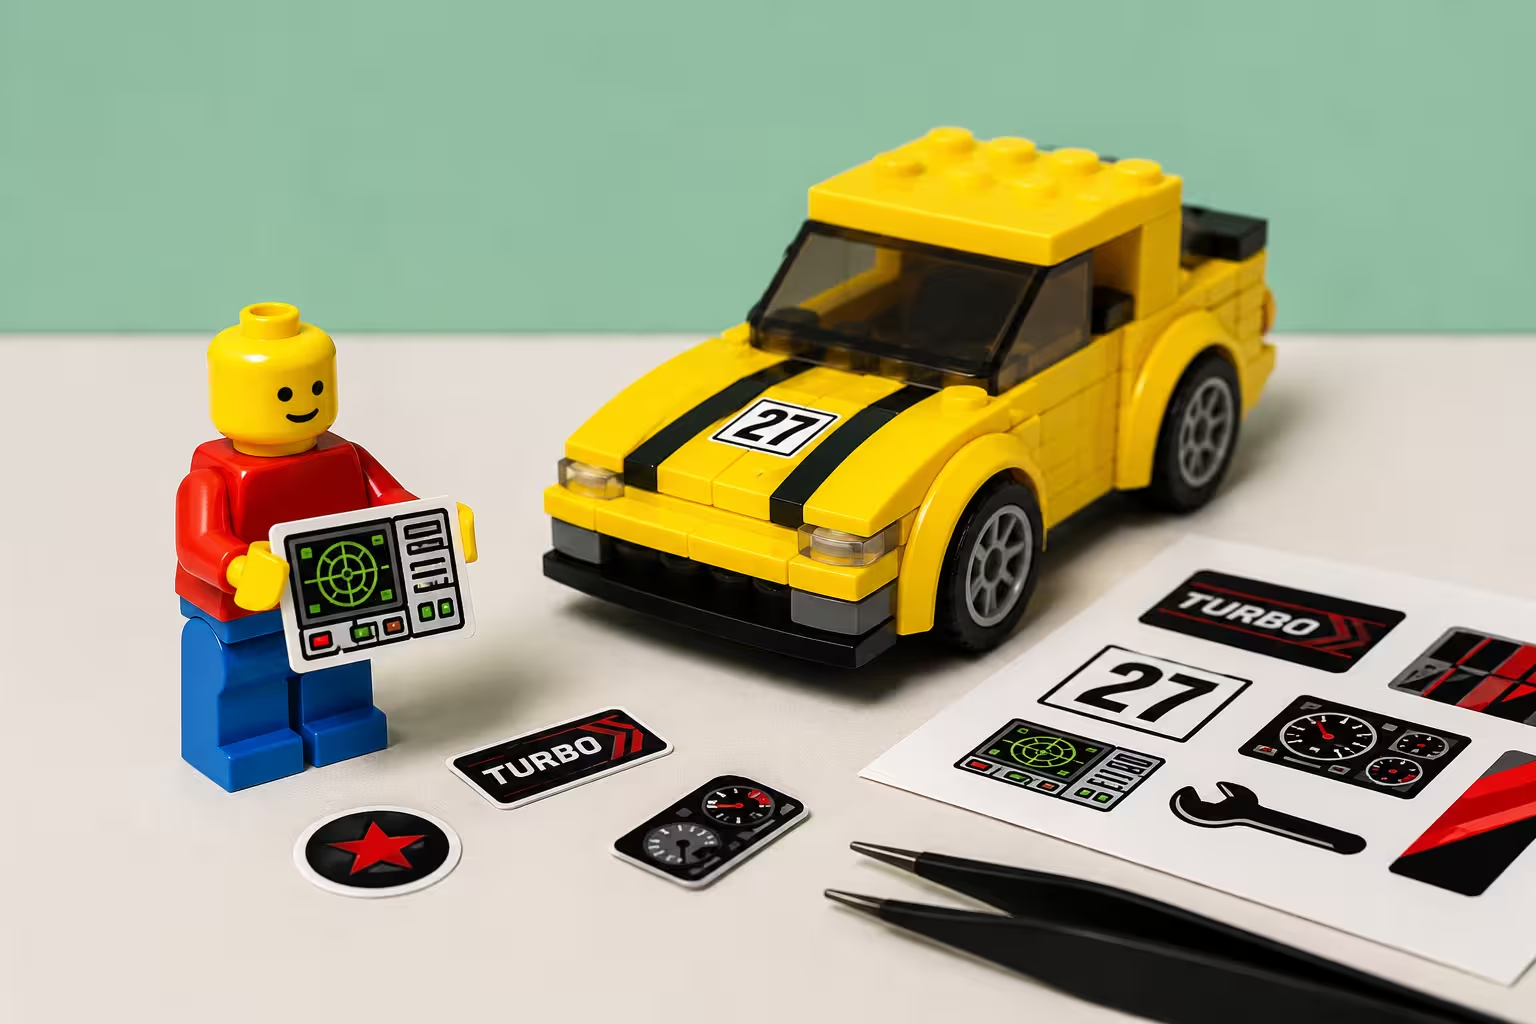
- Measure the LEGO piece.
Measure the area you want the sticker to cover, then create your artwork to those exact dimensions.
- Prepare the file.
Export your design at 300 DPI or higher. Use PNG if your design includes transparent areas for clear sticker paper.
- Print a test copy.
Print the design on plain paper at 100% scale (disable "Fit to Page" or similar settings). Cut it out and check the fit on the LEGO piece.
- Print the final sticker.
Load your sticker paper or printable vinyl into your printer. Select the correct paper type and the highest print quality, then print the design. If you're using an inkjet printer, let the sheet dry completely before cutting.
- Cut the sticker.
Use a sharp craft knife and metal ruler for straight edges, or scissors for simple shapes. For repeated or intricate cuts, use a Cricut or Silhouette cutting machine.
Why LEGO uses stickers
LEGO designers reuse the same bricks across countless sets. A plain tile can become a computer screen in one model, a café menu in another and a racing dashboard somewhere else. Stickers make that possible without creating a brand-new printed part every time.
They're also perfect for details that would be difficult to print directly onto a LEGO piece. Tiny warning labels, instrument panels, shop signs, and decorative artwork all add character without changing the brick itself.
That's why custom LEGO stickers feel so natural. You're using the same trick LEGO designers have leaned on for decades. Let a sticker do the work a mould never could.
Before you start - match the LEGO vibe
Before you open your design software or load sticker paper into your printer, keep these three things in mind.
Think about where your sticker will go before you start designing. A dashboard, a shop sign and a control panel all need different layouts.
Official LEGO stickers rarely cram every millimetre with detail. Clear graphics, bold colours and a little breathing room usually produce the most convincing results.
Print a test copy first. More on this below, but it's worth flagging early: don't cut your final material until you've checked the fit on plain paper.
Decide What You're Making
Replacing a missing sticker sheet is all about matching the original look as closely as possible.
Designing custom LEGO creations gives you much more freedom. You can invent your own logos, decorate buildings, create new places, or build entire themes that LEGO has never released.
Either way, the material you pick should match the job. Decorating a display model calls for something durable. Working on a minifigure usually calls for something thin enough to disappear into the surface. Here's how the main options break down.
Good materials for custom stickers
Printable vinyl sticker paper is a great all-round option. It's durable and flexible. Personally, I'd pick matte over glossy almost every time. Glossy can look more "official" close up, but under normal room lighting it throws off a glare that reads as cheap, and it shows fingerprints fast.
Clear sticker paper lets the colour of the LEGO brick show through. It's ideal for windows, windscreens, and transparent details. Just remember that home inkjet and laser printers can't print white, so any white elements in your design will end up transparent too.
Think like a LEGO designer
One of the easiest ways to improve your own stickers is to study official LEGO designs. Look closely, and you'll notice that they're surprisingly restrained. The graphics are bold, text is easy to read, and colours stay simple. Designers use stickers to support the model, not compete with it.
It's tempting to fill every bit of space with tiny details, especially when you're zoomed in on a computer screen. Once that artwork is printed small enough for a LEGO piece, most of those details disappear. I learned this one the hard way on my first attempt at a tavern sign. It looked incredible at 800% zoom and completely illegible glued to a 1x2 tile.
Create your sticker designs
You don't need expensive software to design your own stickers. Canva, Adobe Illustrator, Photoshop, and Inkscape all work well.
Create your artwork at a high resolution to keep printed stickers sharp, especially if you're working with small text or icons. If you're using clear sticker paper, save your finished design as a PNG to preserve the transparent areas.
Leave a small margin around the edges, and remember your sticker will spend most of its life viewed from arm's length, not at 400% zoom.
Print before you commit
Always print a test sheet on ordinary paper first. Place it over the LEGO piece and check the size before touching your final sticker sheet. LEGO bricks are made to tight tolerances, so even a small sizing mistake stands out immediately. This one step has saved me more sheets of vinyl than I'd like to admit.
When you're happy with the fit, print using your printer's highest quality setting and select the correct paper type. Inkjet prints usually need a little drying time before you start cutting, so don't rush this step.
Cutting your stickers
A cutting machine isn't essential. Many LEGO builders create fantastic custom stickers with nothing more than a sharp craft knife, a metal ruler and a pair of scissors.
If you make stickers regularly, a Cricut or Silhouette can speed up the process and produce consistent cuts, especially for complex shapes. These machines use their own cutting software along with a sticky grip mat to hold the material in place while cutting.
If you're cutting adhesive vinyl instead of printed stickers, a weeding tool helps remove the small scraps left behind after cutting. Transfer tape can then move the finished decal onto the LEGO part without stretching or misaligning it.
Applying stickers to LEGO bricks
Clean the LEGO surface with a soft cloth before applying stickers; dust and fingerprints make it harder for the adhesive to grip.
Use tweezers for small pieces. Line up one edge first, then slowly lower the rest of the sticker into place instead of pressing the whole thing down at once. Working slowly makes it much easier to avoid air bubbles and keep everything aligned.
Printing your own stickers isn’t that hard!
- Don’t use too much detail. Tiny graphics quickly become cluttered at LEGO scale.
- Pay attention to the brick colour. Clear materials always take on the colour underneath them.
- Measure the whole brick instead of the area you're decorating. Most LEGO stickers don't cover every edge.
If this article wasn’t enough, use this detailed tutorial to print your own stickers.
Need help?
If you want a shortcut, Sticker it has custom die cut stickers in holo, glitter, clear and more, plus a free design tool to help you lay out your artwork before you print. Print the test sheet, trust the process, and don't be surprised if your best sticker is your third try, not your first.
Subscribe to our newsletter
Enter your email below to stay up to date on Sticker it's latest, including new product launches, exclusive deals and more.